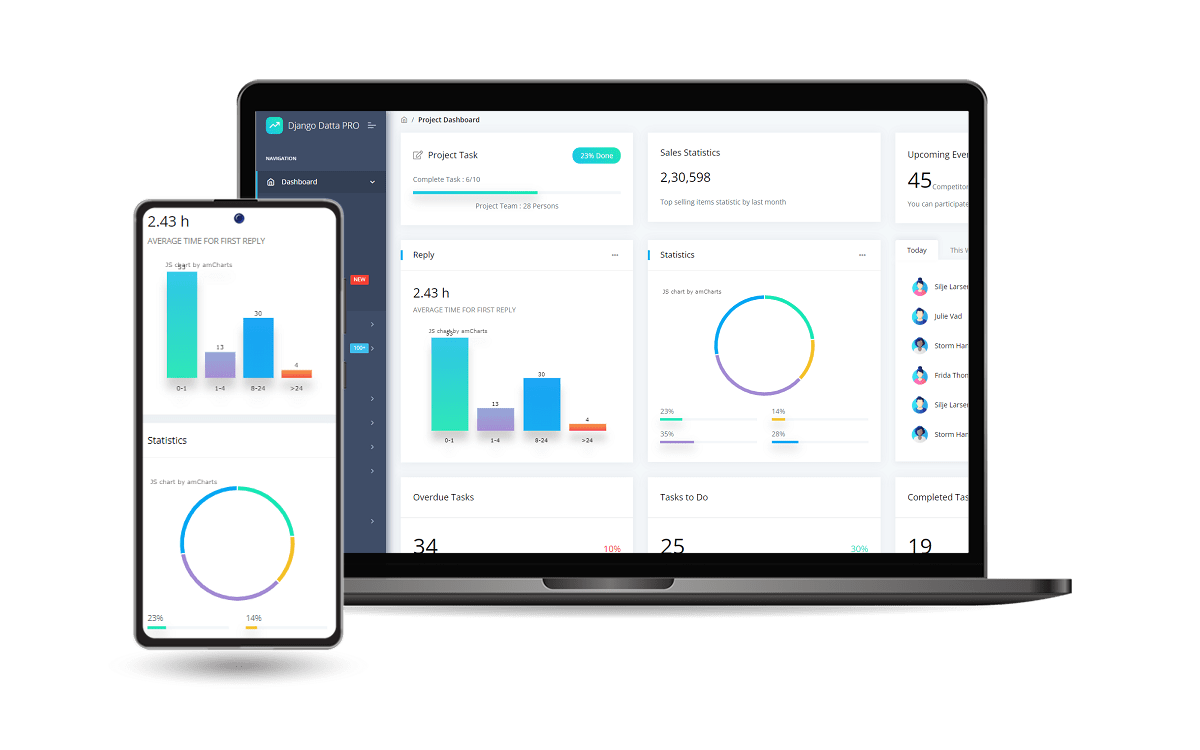
Datta Able Flask
Open-source Flask Dashboard generated by AppSeed op top of a modern design. Datta Able Bootstrap Lite is the most stylised Bootstrap 4 Lite Admin Template, around all other Lite/Free admin templates in the market. It comes with high feature-rich pages and components with fully developer-centric code. Before developing Datta Able our key points were performance and design.
🚀 Built with Datta Able Generator, timestamp
2022-08-21 04:56
- 👉 Datta Able Flask -
Product page - 👉 Documentation -
Learn how to use and update the product - ✅ PRO Version Available -
enhanced UIand morefeatures
Features
Up-to-date dependencies- Database:
sqlite DB Tools: SQLAlchemy ORM, Flask-Migrate (schema migrations)- Session-Based authentication (via flask_login), Forms validation
Dark Mode(enhancement)- Persistent via browser
local storage
- Persistent via browser

Download the code
$ # Get the code
$ git clone https://github.com/appseed-projects/c9a41d11-2d58-4749-905b-ee80cb1afcd6.git
$ cd c9a41d11-2d58-4749-905b-ee80cb1afcd6Install modules via
VENV
$ virtualenv env
$ source env/bin/activate
$ pip3 install -r requirements.txt
Set Up Flask Environment
$ export FLASK_APP=run.py
$ export FLASK_ENV=development
Start the app
$ flask runAt this point, the app runs at http://127.0.0.1:5000/.
Install modules via
VENV(windows)
$ virtualenv env
$ .\env\Scripts\activate
$ pip3 install -r requirements.txt
Set Up Flask Environment
$ # CMD
$ set FLASK_APP=run.py
$ set FLASK_ENV=development
$
$ # Powershell
$ $env:FLASK_APP = ".\run.py"
$ $env:FLASK_ENV = "development"
Start the app
$ flask runAt this point, the app runs at http://127.0.0.1:5000/.
By default, the app redirects guest users to authenticate. In order to access the private pages, follow this set up:
- Start the app via
flask run - Access the
registrationpage and create a new user:http://127.0.0.1:5000/register
- Access the
sign inpage and authenticatehttp://127.0.0.1:5000/login
The project is coded using blueprints, app factory pattern, dual configuration profile (development and production) and an intuitive structure presented bellow:
< PROJECT ROOT >
   |
   |-- apps/
   |    |
   |    |-- home/                           # A simple app that serve HTML files
   |    |    |-- routes.py                  # Define app routes
   |    |
   |    |-- authentication/                 # Handles auth routes (login and register)
   |    |    |-- routes.py                  # Define authentication routes
   |    |    |-- models.py                  # Defines models
   |    |    |-- forms.py                   # Define auth forms (login and register)
   |    |
   |    |-- static/
   |    |    |-- <css, JS, images>          # CSS files, Javascripts files
   |    |
   |    |-- templates/                      # Templates used to render pages
   |    |    |-- includes/                  # HTML chunks and components
   |    |    |    |-- navigation.html       # Top menu component
   |    |    |    |-- sidebar.html          # Sidebar component
   |    |    |    |-- footer.html           # App Footer
   |    |    |    |-- scripts.html          # Scripts common to all pages
   |    |    |
   |    |    |-- layouts/                   # Master pages
   |    |    |    |-- base-fullscreen.html  # Used by Authentication pages
   |    |    |    |-- base.html             # Used by common pages
   |    |    |
   |    |    |-- accounts/                  # Authentication pages
   |    |    |    |-- login.html            # Login page
   |    |    |    |-- register.html         # Register page
   |    |    |
   |    |    |-- home/                      # UI Kit Pages
   |    |         |-- index.html            # Index page
   |    |         |-- 404-page.html         # 404 page
   |    |         |-- *.html                # All other pages
   |    |
   |  config.py                             # Set up the app
   |    __init__.py                         # Initialize the app
   |
   |-- requirements.txt                     # App Dependencies
   |
   |-- .env                                 # Inject Configuration via Environment
   |-- run.py                               # Start the app - WSGI gateway
   |
|-- ************************************************************************The set up
- Create a FREE account on Heroku platform
- Install the Heroku CLI that match your OS: Mac, Unix or Windows
- Open a terminal window and authenticate via
heroku logincommand - Clone the sources and push the project for LIVE deployment
Step 1 - Download the code from the GH repository (using
GIT)
$ # Get the code
$ git clone https://github.com/appseed-projects/<YOUR_BUILD_ID>.git
$ cd <YOUR_BUILD_ID>
Step 2 - Connect to
HEROKUusing the console
$ # This will open a browser window - click the login button (in browser)
$ heroku login
Step 3 - Create the
HEROKUproject
$ heroku createStep 4 - Push Sources to
HEROKU
$ git push heroku HEAD:masterStep 5 - Srt up the APP Environemnt in
HEROKU(.envfile is ignored by the platform)
DEBUG=TrueFLASK_APP=run.pyFLASK_ENV=developmentASSETS_ROOT=/static/assets

Step 6 - Visit the app in the browser
$ $ heroku openAt this point, the APP should be up & running.
Step 7 (Optional) - Visualize
HEROKUlogs
$ heroku logs --tailFor more components, pages and priority on support, feel free to take a look at this amazing starter:
Designed for those who like bold elements and beautiful websites, Datta Able is the most stylish Bootstrap 4 Admin Template compare to all other Bootstrap admin templates. It comes with high feature-rich pages and components with fully developer-centric code.
- 👉 Flask Datta PRO - product page
- ✅
Enhanced UI- more pages and components - ✅
Improved Authentication, Password Strength Checker - ✅
Automatic User Suspensionon multiple failed logins - ✅
Extended User profile - ✅
Users Management(restricted to admins)
- ✅
Datta Able Flask - Open-source starter generated by AppSeed Generator.